 On April 20th, 2015, VMware announced Photon, its own container-friendly Linux distribution. Photon is a technology preview of a small footprint Linux container host. It has been released as open source software and is available at GitHub.
This post explains how to install Photon in VMware Workstation, do some basic configuration and implement the first container.
- Download the latest pre-built ISO image from GitHub (photon-1.0-TP1.iso)
- Open VMware Workstation and create a New Virtual Machine
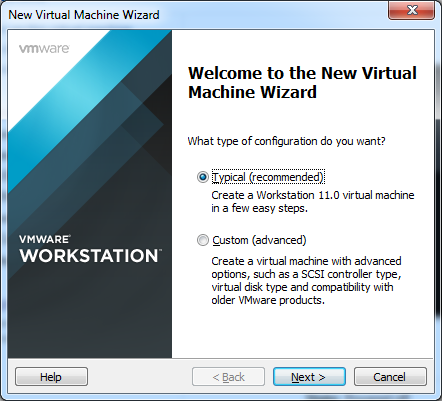
- Select Typical
- Select Installer disc image file (iso), hit Browse... and open the Photon ISO file
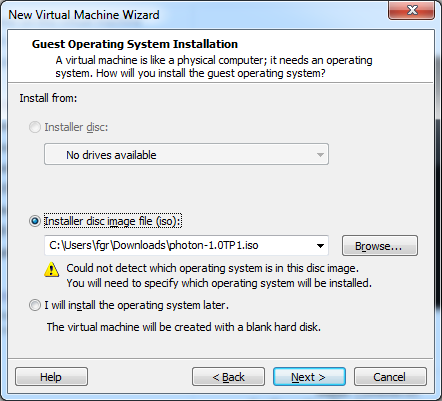
- Set Other Linux 3.x kernel 64-bit as Guest Operating System

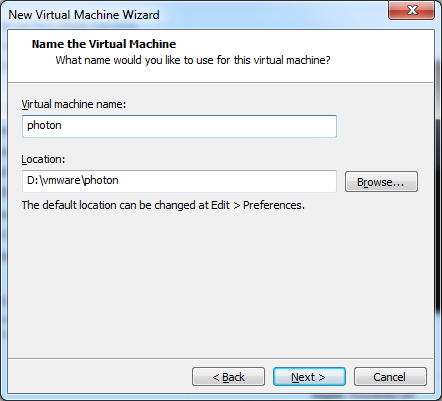
- Set a name for the Virtual Machine
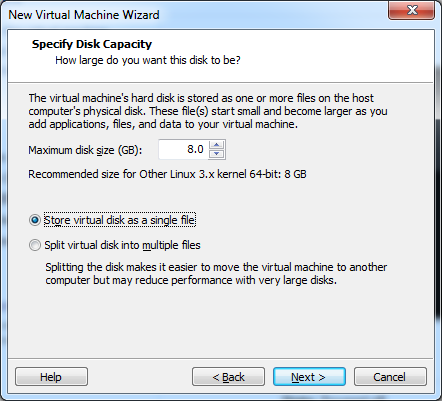
- Hit Next. You do not have to change anything here.
- Click on Customize Hardware...
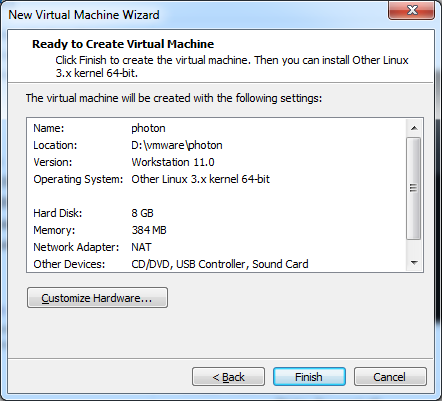
- Remove USB Controller, Sound Card and Printer
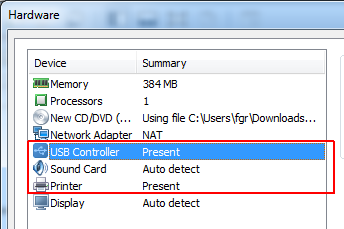
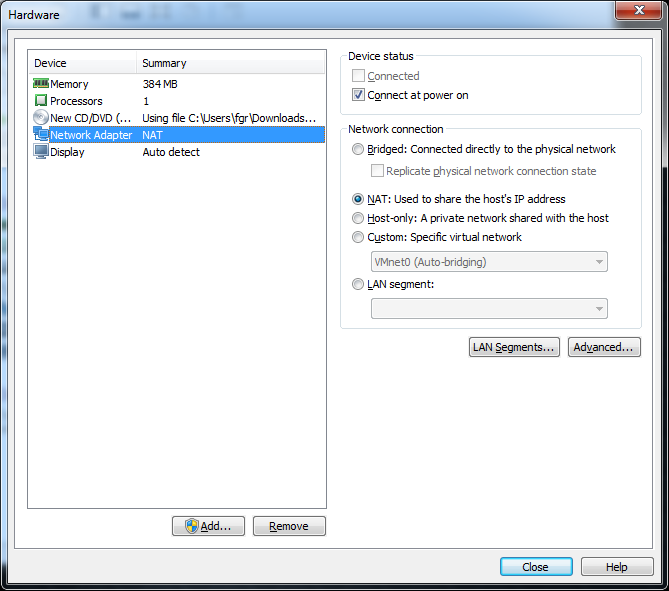
- Press Close and Finish virtual Machine creation
- Power on the Photon Virtual Machine

- Select Install
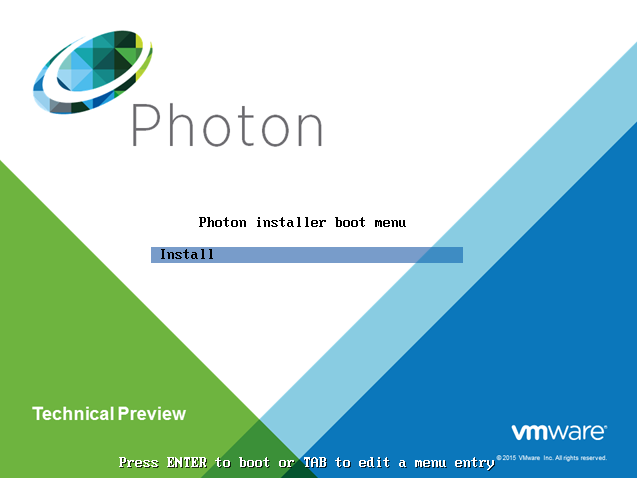
- Accept License Agreement
- Confirm the disk to be automatically partitioned
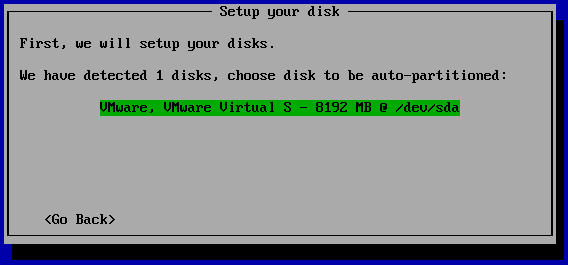
- Confirm to erase the disk
- Select the deployment model. For testing purposes we are going to install Photon Full OS
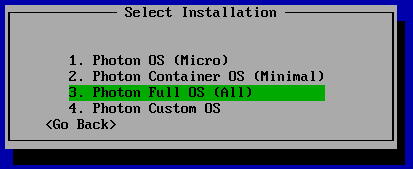
Photon OS (Micro): Completely stripped down version of Photon that can serve as an application container.
Photon Container OS (Minimum): Very lightweight version of the container host that is best suited for container management and hosting.
Photon Full OS (All): Several additional packages to enhance the authoring and packaging of containerized applications and/or system customization.
Photon Custom OS: Provides complete flexibility and control for how you want to create a specific container runtime environment. - Enter a hostname

- Set the root password

- Press any key to reboot the Virtual Machine

That's it. Your small footprint Photon will now boot and you can login as root with the password set during installation. 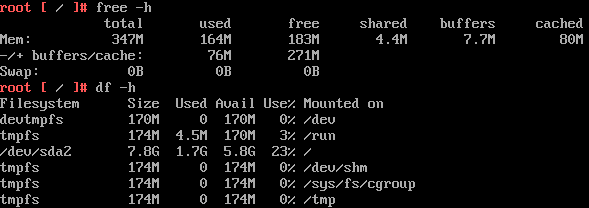
Installing the first Container Application
Now that you have Photon up and running, you might want to do something. Start Docker and make it to start automatically with the system:
root [ ~ ]# systemctl start docker
root [ ~ ]# systemctl enable docker

As I don't like working with the console, I activate SSH:
root [ ~ ]# nano /etc/ssh/sshd_config
Change PermitRootLogin no to PermitRootLogin yes
![]()
Restart sshd and login with a SSH client like putty.
root [ ~ ]# systemctl restart sshd
Now it's time to run the first container. There is a huge marketplace for containers at hub.docker.com. To test the installation, you can use the hallo-world container.
root [ ~ ]# docker run hello-world
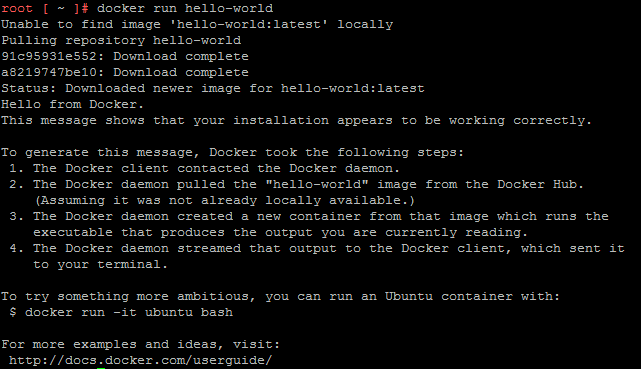
VMware has also a small web-based container for testing:
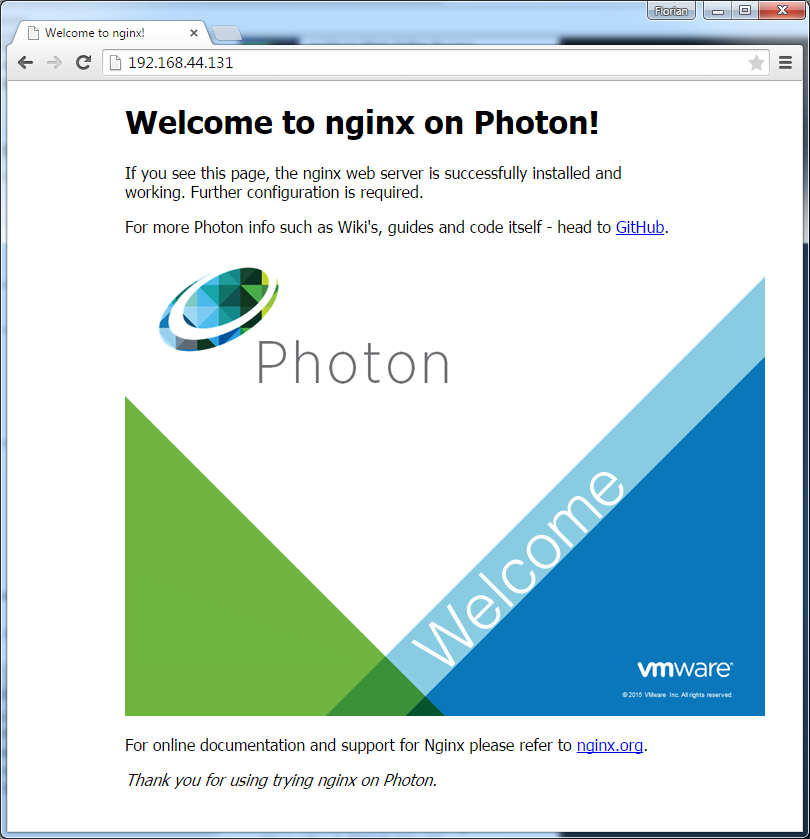
root [ ~ ]# docker run -d -p 80:80 vmwarecna/nginx
vi is not available when you choose to install "Photon Container OS". either nano or
sed -i 's/PermitRootLogin no/PermitRootLogin yes/g' /etc/ssh/sshd_config
are your friends there
Thank you. Havn't noticed that vim is missing in the Container version.
do you know how to set a static ip config that survives a reboot in photon?
The network configuration is stored in /etc/systemd/network/10-dhcp-eth0.network
You can simply edit this file as explained here. It's reboot safe of course.